
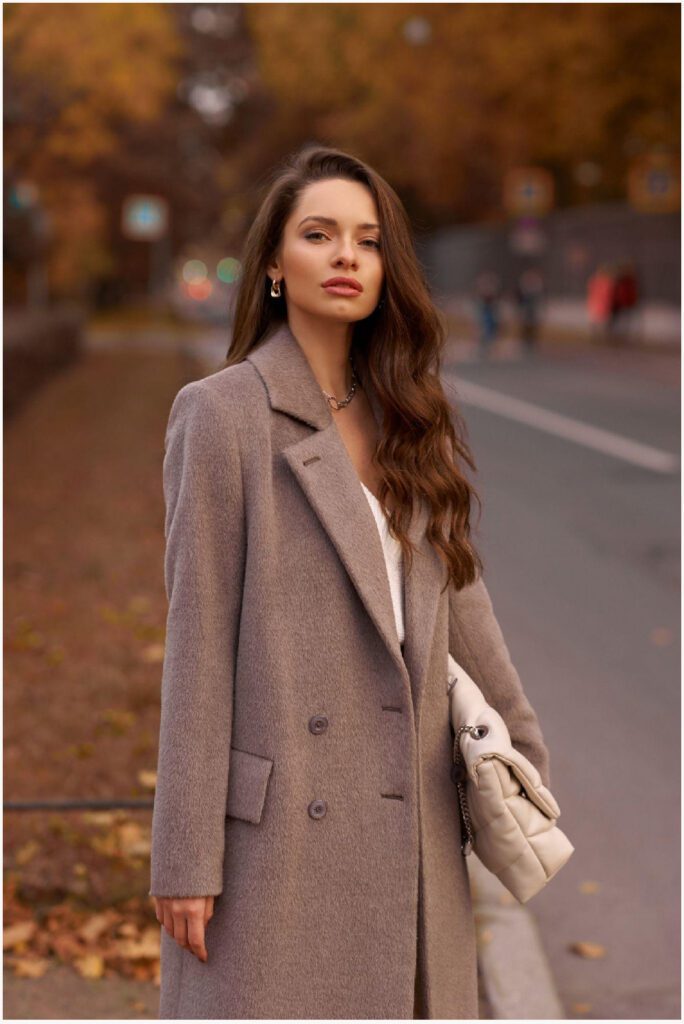
It’s no surprise we here at Beyond Extensions are huge fans of natural hair clip-in extensions.
Natural hair clip ins are a fast and easy way to completely change your look. You can go from short hair to long, from straight hair to bouncy curls in a matter of minutes!
You can attach them yourself – you don’t even need to go to a stylist. Natural hair clip-ins are painless, and they don’t do any damage to your hair. And best of all, they’re reversible!
But, as much as we love natural clip ins, we know that sometimes, clip ins can be a bit, well… tricky. For some people and hair types, it can take some effort to blend clip ins seamlessly with natural hair.
If you’re one of those people, you’ve come to the right place. Our experts have put together 5 tips to help you blend your natural hair clip-ins! Read on to find out more.
What are natural hair clip ins?
clip ins are hair extensions that are attached to your natural hair – with clips. They don’t need any bonding, glue, or sticky tape to stay in place and give you the look you want.
Our favorite type of extensions are natural hair clip ins. As they are made from real human hair, they can be curled, straightened, or styled any other way with heat tools. That’s why they are more versatile than other types of hair extensions.
How do you blend natural hair clip ins?
It doesn’t matter if you have short hair or long, thin hair, or voluminous waves. Sometimes, it can be a struggle to blend natural clip ins with your own hair.
With these tips by Beyond Extensions, you’ll be clipping those hair clip ins with just a few clicks!
Getting the Right Length
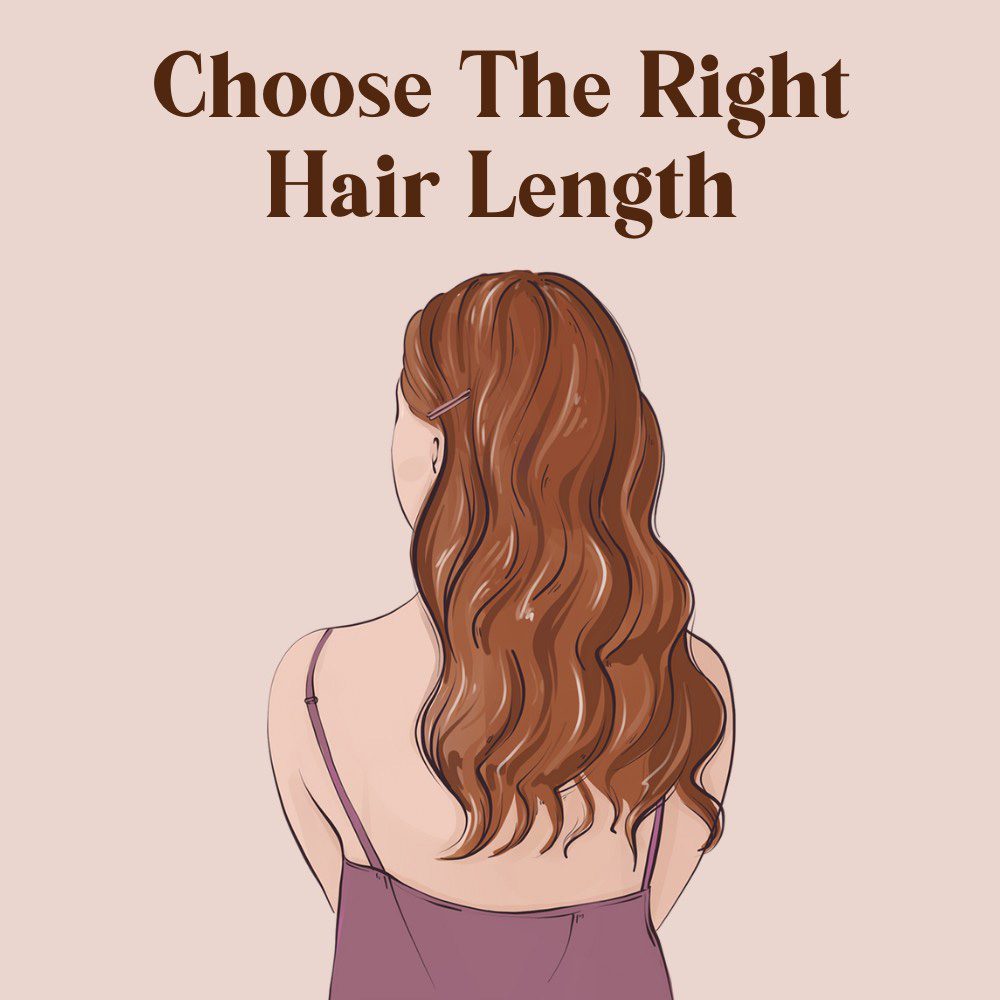
When buying a set of natural hair clip ins, it’s really important to get one with the right length for you.
A bit confused? Look at it this way – we all have our preferences. Some women can totally rock a pixie cut, while others stay as far away from short hair as they can.
Since natural hair clip ins are just like real hair, the same idea applies. Depending on the contours of your face and your natural hair, maybe 16 inches is the ideal length for you, but your friend may find that 20-inch natural hair clip ins are the ones for her.
All our natural hair clip ins are available in 3 sizes – 16, 18, and 20 inches, so you’ll always find the right length for you. Choose ‘Shop by Length’ in the menu, and you’re on your way!
Find out what length of clip ins works best to frame that beautiful face of yours, and you’re good to go!
Color Matching
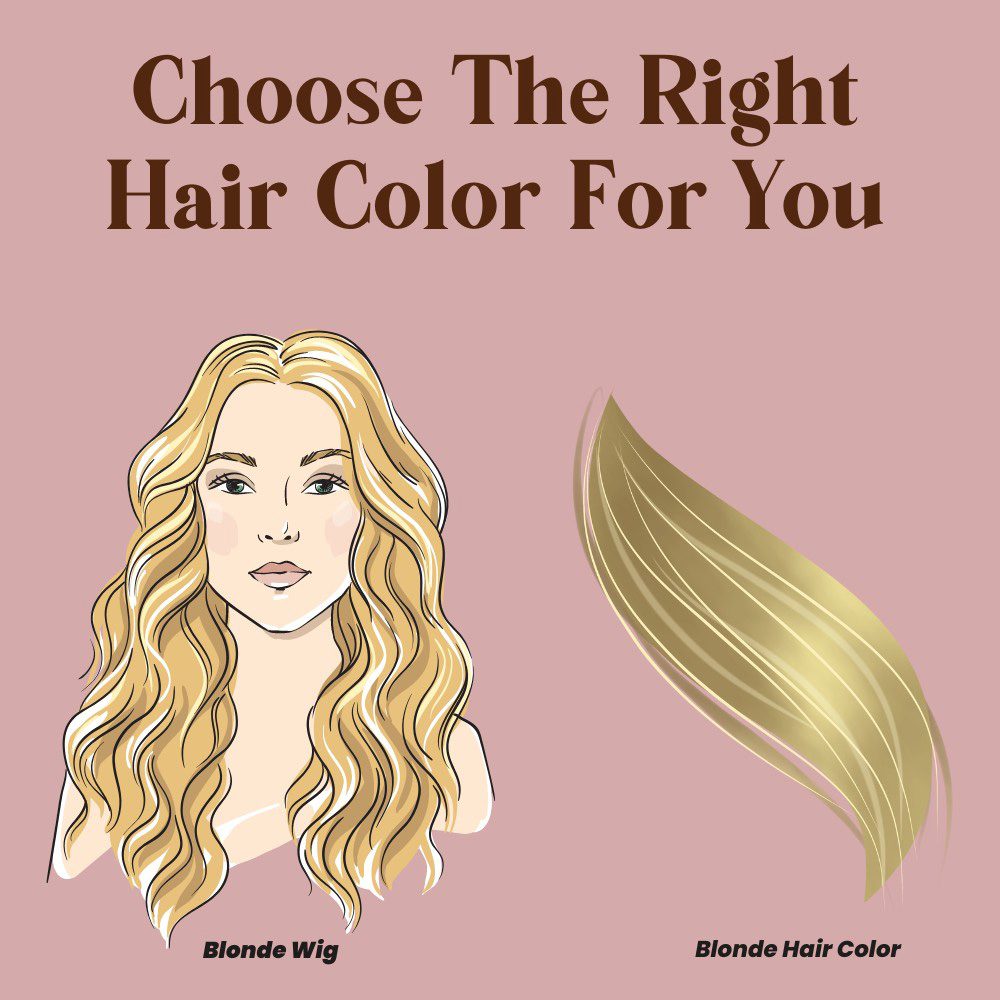
Our next tip is to always buy a set of hair clip-ins that closely match your natural hair color.
Picture this: you’ve bought your new set of natural hair clip ins and are super excited to try them out. But as soon as you take them out of the box, you realize they’re not the color you wanted!
We feel you! This heartbreak is truly worse than when your ex ghosted you. But with Beyond Extensions, this worry is practically non-existent.
The thing is, for a perfect blend, your natural hair clip ins need to look like they are a part of your own hair. So, they need to first match the color of your natural hair.
Makes sense, doesn’t it?
You’ll never need to compromise on color with Beyond Extensions. With our free swatch kit, you’ll always find the perfect color match for your natural hair clip ins. With Beyond Extensions, color matching is as easy as ABC!
As in real estate, it’s all about location!

Once you’ve got your natural hair clip ins at the right length and color, it’s all about positioning.
The first step is setting the foundation. If your base clip ins aren’t in the right place, they will not only look out of place but also prevent all your other wefts from blending in with your natural hair.
There are different techniques you can try when setting your base of natural hair clip ins.
You could braid a section of your hair and attach the natural hair clip ins to the braid, or tease the root of your hair and apply some product to create a better contact point for the clip ins, preventing any slipping.
Some prefer to twirl a section of hair and then attach their natural hair clip ins.
You don’t want any wefts showing through your hair, so be sure you attach them where your natural hair will cover them up.
Invite a friend over, pour yourselves a glass of wine, and have a go placing wefts on different parts of the head till you find just the right spot. It’s fun!
Top tip: Attach a weft of natural hair clip ins to the same location rather than mixing up their position. Once you’ve got the perfect spot for each weft, number them. Next time, you’ll know where exactly each weft should go!
With Beyond Extensions’ Couture Collection, made with 100% Natural Remy hair, you get a luxurious look and feel, ideal for daily use!
Sometimes, less is more

A set of natural hair clip ins comes with a number of wefts, but you don’t need to wear all the wefts simultaneously every time.
How many wefts you should wear depends on how thick (or thin) your natural hair is and the look you want to go for. Remember, you can also attach a weft to another weft
– also known as stacking. This helps create more volume without taking up clipping space on your natural hair.
The shortest wefts of natural clip ins usually look best a little before your temples, medium wefts go to the back of your head, and the longest wefts of natural hair clip-ins are reserved for the widest part of your head, the sides.
Style it all as one
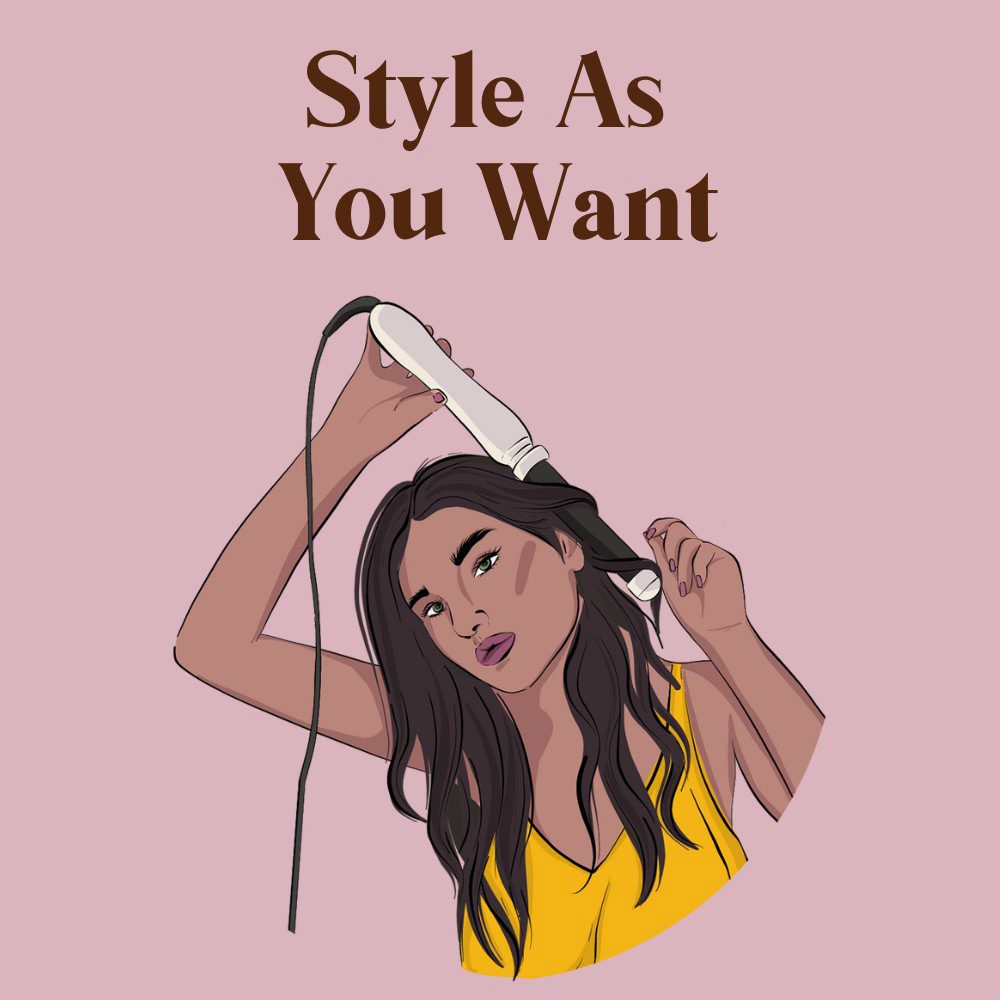
Treating your attached natural hair clip-ins as your own hair when styling them will help them blend in beautifully.
Curls and waves are a great friend of the blend. Take some of your natural hair and some hair from your natural clip-ins when curling.
This helps the hair strands entwine and blend into each other, making the line where your real hair ends and your natural hair extensions start virtually impossible to spot.
Remember to always use a heat protectant before using heat tools on your natural hair clip ins and keep the temperature setting at a minimum.
Our 100% human hair Classic collection of natural hair clip-ins is perfect for such styling and is a god-send of hairstyling!

Final Thoughts
And there you have it! Follow these tips, and you’ll be a natural hair clip-ins guru in no time!
Never compromise on quality with Beyond Extensions. We offer three stunning collections of natural hair clip ins to meet all your needs – be they for everyday wear or occasional wear!